
Home bread baking has changed with all the sourdough starters and artisan techniques flying around.
My first loaves were disasters. Dense bricks. Flat pancakes. Once, something that somehow managed to be both undercooked inside and burnt outside. I nearly gave up.
Turns out I was making the same mistakes everyone makes. Here’s what actually went wrong.
Your Yeast Might Be Dead
Yeast is alive. Or should be. Old yeast doesn’t rise. Hot water kills it. Too much salt suffocates it.
Test your yeast before blaming anything else. Warm water (105-110F), a pinch of sugar, sprinkle yeast on top. Wait ten minutes. Should foam up. No foam? Dead yeast. Start over.
You’re Probably Adding Too Much Flour
Measuring flour by volume is a disaster. That’s what makes weighing ingredients serious bakers. Scoop it differently each time, get different amounts. Dense bread usually means too much flour.
Get a scale. Weigh everything. 100 grams is 100 grams, every time. This one change fixed most of my failures.
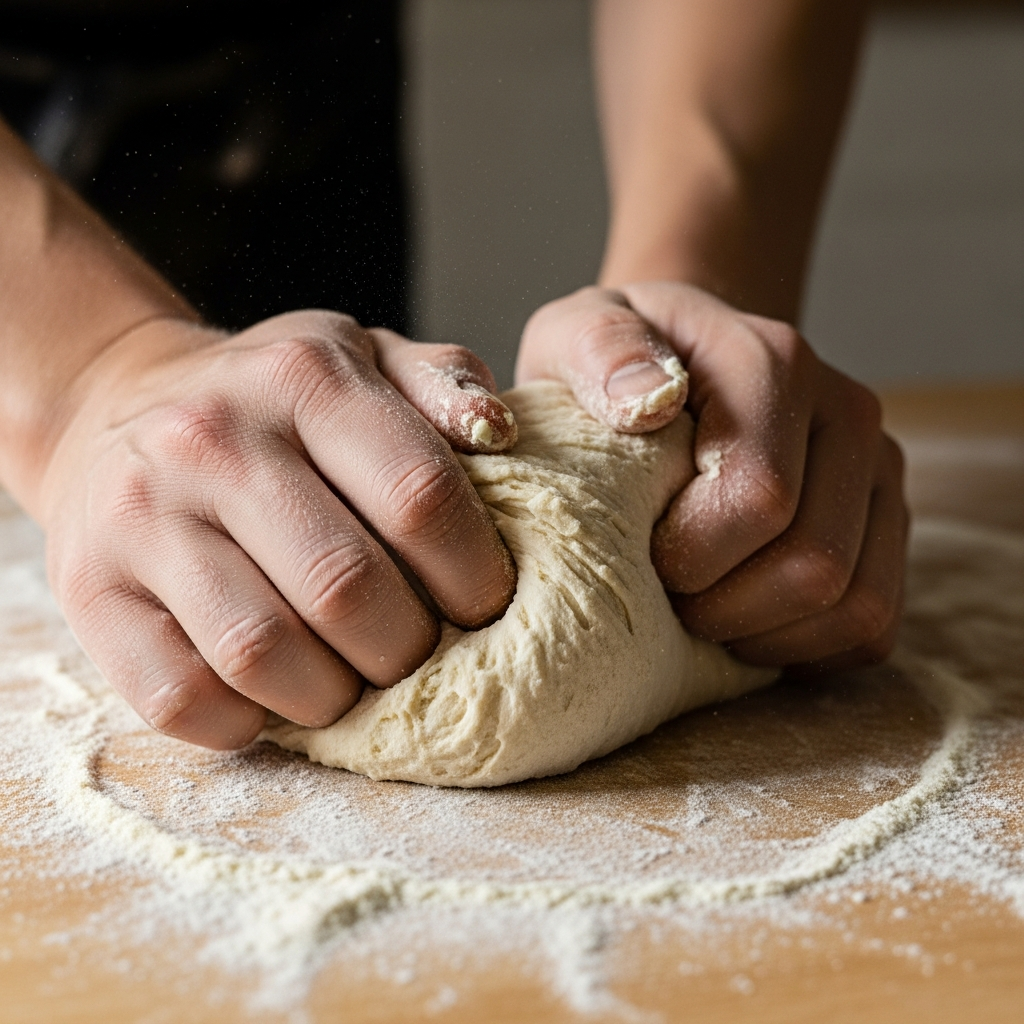
Not Enough Kneading
Under-kneaded dough doesn’t develop gluten structure. No structure, no rise, brick bread.
Knead until smooth and elastic. Does it spring back when poked? Does it pass the windowpane test—stretch thin enough to see light through? If not, keep kneading.
Impatience With Rising
Dough rises when it rises. Not when you want it to. Cold kitchen? Takes longer. Rushing it? Dense bread.
Let it double. Actually double, not “close enough.” The second rise after shaping matters too. Don’t skip it.
Oven Too Cool
Bread needs a hot oven. Like 450F hot. Preheat for real—20-30 minutes, not until the beep says so.
Internal temp should hit 190-200F when done. Use a thermometer. Guessing by color or “hollow sound” is unreliable.
Bread isn’t hard. It’s just unforgiving of shortcuts. Follow the rules, measure properly, be patient. The loaf will come.


Stay in the loop
Get the latest home cuisine delights updates delivered to your inbox.