Baking Bread at Home
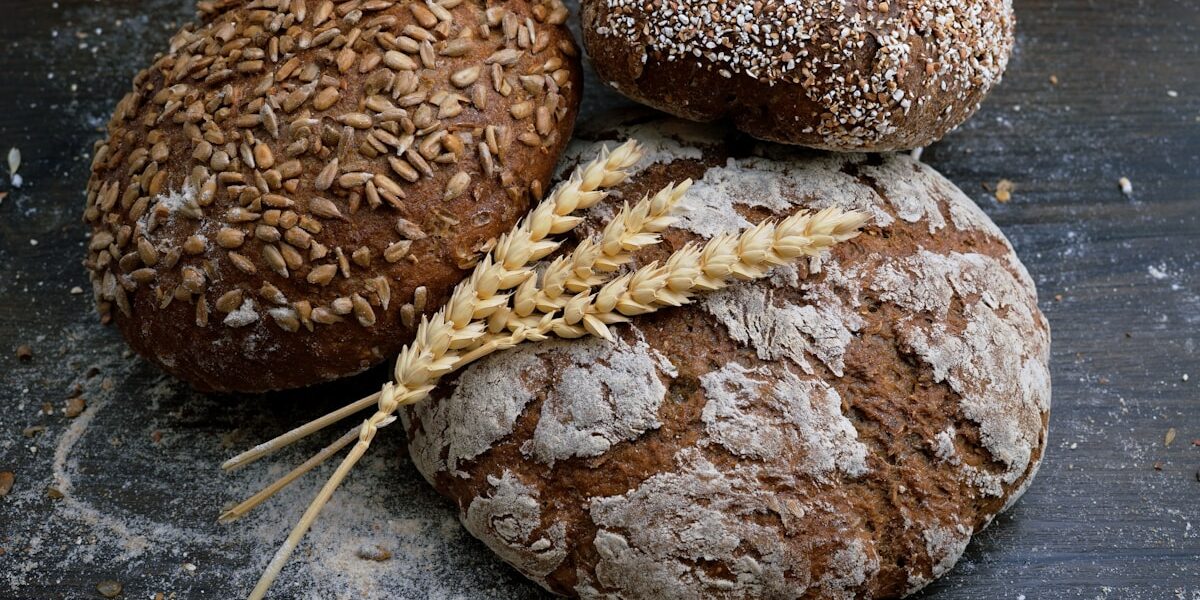
Baking bread at home can be a rewarding experience. Freshly baked bread offers a taste and comfort that store-bought loaves can’t match. Moreover, the process of baking bread can be a relaxing hobby. Understanding the basics can help you create delicious bread from your kitchen.
Essential Ingredients

Basic bread requires only a few ingredients: flour, water, yeast, and salt. Flour forms the base of the bread. Bread flour, which has a higher protein content, is ideal for providing structure. Water activates the yeast and combines with flour to form the dough.
- Flour: Bread flour is preferred for its high gluten content.
- Water: Use filtered or bottled water for the best results.
- Yeast: Active dry yeast and instant yeast are common types.
- Salt: Essential for flavor and regulating yeast activity.
Understanding Yeast
Yeast is a living organism that ferments the dough. This fermentation produces carbon dioxide, which causes the bread to rise. Active dry yeast needs to be dissolved in water before using. Instant yeast can be mixed directly into the dry ingredients. Yeast growth is influenced by temperature and moisture. Keep it in a cool, dry place.
Mixing the Dough
Mixing dough correctly is essential for good bread. Start with your flour and create a well in the center. Pour in the water, sprinkle over the yeast, and add salt to the edges. Slowly mix together, ensuring the salt doesn’t come in direct contact with the yeast too early, which can harm its growth.
Kneading develops gluten, giving bread its texture. This involves folding and pressing the dough repeatedly. Knead for about 10 minutes or until the dough becomes smooth and elastic. You can test by stretching a small piece. If it forms a thin membrane without tearing, the dough is ready.
First Rise (Bulk Fermentation)
After kneading, place the dough in a lightly oiled bowl to prevent sticking. Cover it with a damp cloth or plastic wrap to retain moisture. Let it rise in a warm, draft-free area. This rise usually takes 1-2 hours, depending on the ambient temperature. You’ll know it’s ready when the dough has doubled in size.
Shaping the Dough
Once the dough has risen, punch it down to release some of the gas. Turn it out onto a lightly floured surface. Shape the dough into a loaf or your preferred shape. To shape a loaf, flatten the dough into a rectangle, then roll it up tightly. Pinch the seams together and tuck the ends under. Place it seam side down in a greased loaf pan.
Second Rise (Proofing)
Allow the shaped dough to rise again. This second rise, known as proofing, helps develop flavor and texture. Leave it for 1-1.5 hours, or until it has risen and retained its shape when poked gently with a finger. Preheat your oven toward the end of this proofing stage.
Baking the Bread
Place the bread in a preheated oven, typically at 375-450 degrees Fahrenheit. A higher temperature results in a crustier bread, while a lower temperature yields a softer crust. Bake for 25-35 minutes, depending on the size of the loaf. The bread is done when it sounds hollow when tapped on the bottom. You can also use an instant-read thermometer; bread is fully baked at an internal temperature of 200-210 degrees Fahrenheit.
Cooling the Bread
Cooling serves as the final step. Proper cooling is essential to set the bread’s structure and flavor. Remove the bread from the oven and let it cool on a wire rack. Avoid cutting into the bread immediately; it needs 1-2 hours to cool and set completely. Cutting too soon can result in a gummy texture.
Storing Homemade Bread
Store homemade bread to maintain its freshness. For short-term storage, place the bread in a paper bag or bread box at room temperature. For longer-term storage, wrap it in plastic wrap, then foil, and store it in the freezer. Slicing the bread before freezing makes it easy to take out only what you need.
Common Problems and Solutions
Even with the right steps, beginners might face some issues. If your bread is too dense, it might be under-kneaded. Consider kneading longer next time. If your bread doesn’t rise well, check the yeast’s freshness. Also, remember that too much salt can inhibit yeast activity. Trouble with crust? Cover the bread with foil midway through baking to prevent over-browning.
Experimenting with Ingredients
Once comfortable with basic bread, experiment to create your unique recipes. Additives like seeds, nuts, and dried fruits can add flavor and texture. Whole grains and different types of flour can introduce new flavors and health benefits. Herbs and spices change the aroma and taste. Adding fats like butter or oil results in a softer texture and richer flavor.
Tools and Equipment
Simple tools can make baking bread easier and more efficient. A digital scale ensures accurate measurement. A bench scraper helps handle dough. A proofing basket provides support during the final rise. A baking stone or steel helps achieve a crisp crust by retaining and evenly distributing heat. An oven thermometer checks your oven’s accuracy, ensuring proper baking temperatures.
The Science of Bread Baking
Baking bread involves both physical and chemical changes. The yeast fermentation produces gases that make the dough rise. The Maillard reaction, which occurs during baking, leads to browning and flavor development. Starch gelatinization happens as the dough heats, providing structure. Gluten proteins form an elastic network, trapping gases and giving bread its texture.
Global Bread Varieties
Bread comes in many forms worldwide. French baguettes feature a crispy crust and soft interior. Italian ciabatta has an open crumb and chewy texture. Middle Eastern pita pockets are versatile for stuffing. Indian naan is soft and can be topped with various flavors. Each type of bread reflects its cultural history and culinary traditions.
Baking Bread for Dietary Needs
Gluten-free bread can be made using alternative flours like rice, almond, or coconut. Ensure to include xanthan gum or psyllium husk as a binding agent. For low-sugar diets, reduce or eliminate sweeteners. For whole grain or low-carb diets, use whole wheat flour or nut flours. Adjustments may be needed to match the hydration and binding properties of traditional bread.
“`
Recommended Coffee Gear
Baratza Encore Conical Burr Grinder – $169.00
The gold standard entry-level burr grinder.
Hario V60 Ceramic Dripper – $25.00
Pour-over perfection for specialty coffee lovers.
As an Amazon Associate, we earn from qualifying purchases.


Subscribe for Updates
Get the latest articles delivered to your inbox.
We respect your privacy. Unsubscribe anytime.