How to Season a Cast Iron Skillet So It Actually Stays Non-Stick
Cast iron seasoning has changed with all the conflicting advice flying around. I’d picked up a Lodge 10.25-inch skillet— $34 at Target, nothing fancy— convinced I was about to become the kind of person who makes perfect cornbread and eventually passes heirloom cookware down to grandchildren. What I actually made was a sticky, flaking, rust-spotted disaster for four solid months. The pan was fine. Everything I believed about seasoning it was wrong.
Here’s what finally clicked— and what most guides just… don’t mention.
The 5-Minute Oven Seasoning Method
Frustrated by my fourth batch of eggs that stuck like concrete, I sat down and actually got the base seasoning right using nothing but my oven, a paper towel, and about a teaspoon of Crisco. The process itself isn’t complicated. What kills it is almost always one specific mistake— I’ll get there. But first, the actual steps.
- Preheat your oven to 450°F. Some people swear by 500°F. I’ve found 450°F is more forgiving and still does the job.
- Wash the skillet with warm soapy water and dry it completely— every drop of moisture, gone. Put it on a burner over low heat for two minutes if you want to be absolutely sure.
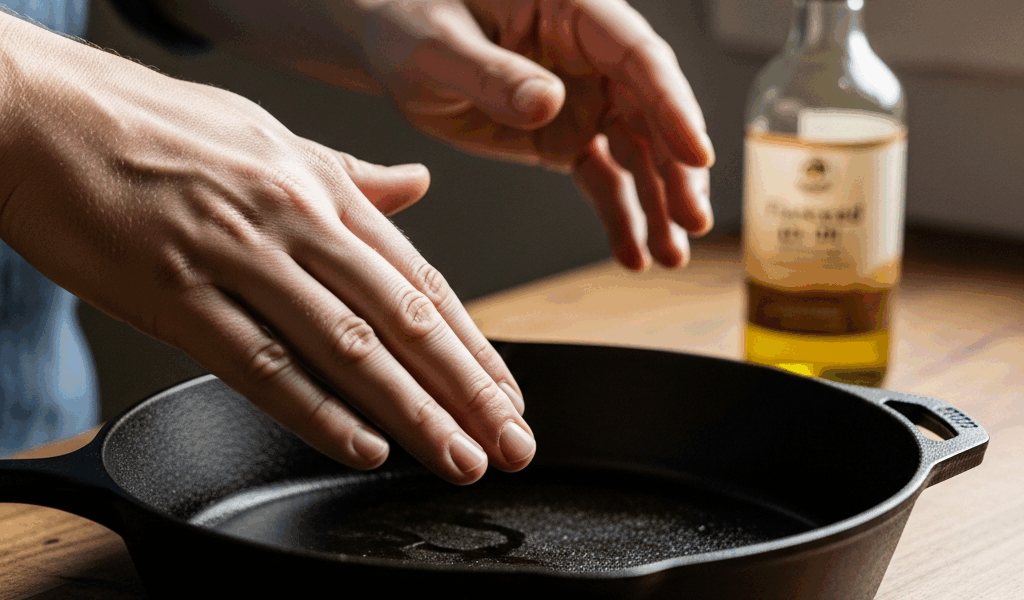
- Apply a thin layer of oil to every surface— inside, outside, handle, bottom. All of it.
- Take a clean cloth or paper towel and wipe nearly all of it back off. This is the step everyone skips. The pan should look almost dry, not shiny and slick.
- Place the skillet upside down on the middle rack, with a sheet of foil on the rack below to catch drips.
- Bake for one hour. Turn the oven off. Let the pan cool completely inside— don’t rush it.
Repeat this three to four times before you cook a single meal in it. Each layer is thin and polymerized— the oil has essentially bonded to the iron at a molecular level. Stack those layers. The pan I use daily has probably fifteen seasoning sessions on it now, and eggs slide around like it’s Teflon. That’s what makes cast iron so — it genuinely improves with use.
The thin layer part is the whole game, honestly. More on why in a moment.
Why Your Seasoning Keeps Flaking Off
Probably should have opened with this section, honestly. If your seasoning is already flaking or peeling, the oven method above won’t fix anything until you understand what went wrong in the first place.
Too Much Oil at Once
This is the number one mistake. I did it for months. You apply what feels like a reasonable coating, the pan goes in the oven, and instead of polymerizing into a smooth layer, the excess oil pools and bakes into a sticky, gummy residue. It looks seasoned. It feels seasoned. Then it starts peeling off in sheets into your food.
The fix: wipe the oil on, then wipe almost all of it back off. If the pan looks shiny and wet, you’ve used too much. It should look like you barely touched it— almost dry.
Wrong Temperature
Oil has to reach and exceed its smoke point to polymerize. Season at 300°F with an oil that smokes at 400°F and you’re just coating the pan in warm oil— not building seasoning. It’ll wipe right off. Match your oven temperature to your oil. This is why I’ve gotten particular about which oil I reach for. More on that below.
Acidic Foods Too Early
Tomato sauce. Lemon juice. White wine. Vinegar-based anything. These strip seasoning— especially on a pan that hasn’t been built up yet. I made a pan sauce with white wine in a skillet that had maybe two seasoning sessions on it and watched the seasoning dissolve in real time. Devastating doesn’t cover it.
New pans need fatty, forgiving foods for the first stretch of use. The layers need to accumulate before the pan can handle acidic ingredients without getting stripped back down.
Soap After Every Wash
The old advice was never use soap— ever, under any circumstances. That’s outdated. A small amount of mild dish soap, like a single drop of Dawn, won’t destroy a well-seasoned pan. What damages seasoning is soaking, harsh scrubbers on a new pan, or leaving it wet. Soap in reasonable amounts is fine. More on this in the cleaning section.
Best Oils for Seasoning— Compared
I’ve tried most of these. The oil debate in the cast iron community gets almost religious. But what actually matters is simple: smoke point, how well it polymerizes, and how easy it is to apply a thin layer without overdoing it.
| Oil | Smoke Point | Polymerization | Ease of Use | Cost |
|---|---|---|---|---|
| Flaxseed oil | 225°F | Excellent— dries hard | Difficult— prone to flaking if over-applied | ~$10–$14/bottle |
| Avocado oil | 520°F | Very good | Easy— high smoke point forgives oven temp variation | ~$8–$12/bottle |
| Canola oil | 400°F | Good | Very easy— available everywhere | ~$3–$5/bottle |
| Crisco (shortening) | 490°F | Good— builds quickly | Easy— wipes evenly, hard to over-apply | ~$5–$7/can |
| Vegetable oil | 400°F | Decent | Easy— too thick in large amounts | ~$3–$4/bottle |
My pick, after going through all of them: Crisco shortening for initial seasoning sessions, avocado oil for maintenance. Crisco wipes on thin and even without much effort— being a solid fat, it’s harder to accidentally use too much. Avocado oil might be the best option for ongoing use, as cast iron maintenance requires consistent high-heat performance. That is because its 520°F smoke point leaves you almost no room to mess up at 450°F. A small bottle of Chosen Foods avocado oil spray— about $9 at Costco— lasts forever when you’re using it in proper thin layers.
Flaxseed oil has a devoted fan base and I get it— it polymerizes beautifully when done right. But one slightly-too-thick application and you’re peeling seasoning off your eggs for a week. The margin for error is just too small, especially starting out. Don’t make my mistake.
Your First 20 Meals— What to Cook and What to Avoid
This is the section I wish had existed when I started. Nobody talks about the build-up period. Your pan doesn’t come out of the oven after three seasoning sessions ready for everything— it needs to develop seasoning through actual cooking. What you make in those early sessions either builds that surface or strips it.
Cook These First
- Bacon. Perfect first food. The fat renders and coats every surface. Cook bacon at least twice before you try anything else.
- Sausage. Same principle— fatty, forgiving, excellent seasoning builder.
- Pan-fried chicken thighs. Skin-side down in a little oil. The rendered fat does the heavy lifting.
- Steak. High heat, a bit of butter or oil, short cook time. Great for building seasoning right in the sear zone.
- Fried potatoes. Hash browns, home fries, sliced potatoes in oil— these work incredibly well in cast iron, and the starch acts almost like a buffer while the oil does its job.
- Cornbread. Preheat the oiled skillet in the oven, pour in the batter. It comes out better in cast iron than any other pan, and it feeds your seasoning in the process.
Avoid These for the First 15–20 Uses
- Tomato-based sauces. The acidity eats seasoning. Wait until you’ve got solid build-up before you attempt pasta sauce or shakshuka.
- Anything with lemon juice or vinegar. Deglazing with lemon, white wine pan sauces, vinegar-based anything— all of it strips new seasoning fast.
- Fish. Not a seasoning issue— it just sticks badly on an under-seasoned surface, and watching it fall apart is discouraging. Wait until the pan is genuinely smooth.
- Eggs. I know. Everyone wants to cook eggs in cast iron. But eggs on new seasoning are unforgiving. Cook them after fifteen or twenty sessions and you’ll be amazed. Cook them on session three and you’ll be scrubbing off what little seasoning you have.
Frustrated by rubbery scrambled eggs fused to the bottom of my barely-seasoned skillet, I forced myself to cook exclusively bacon, sausage, and pan-fried chicken for the first three weeks— using a cheap non-stick pan in the meantime. By week four, eggs slid around without any fuss. The patience pays off.
Daily Cleaning Without Destroying Your Seasoning
The myths around cast iron cleaning have scared more people away from these pans than anything else. Let me just be direct about what’s actually true.
The Real Cleaning Routine
- While the pan is still warm— not scorching, just warm— rinse it under hot water.
- Use a stiff brush. I use a Lodge Scrub Brush, about $6, or a chainmail scrubber for stuck bits. The chainmail ones run around $15 on Amazon and are worth every cent.
- Dry the pan immediately and completely. Put it on a burner over low heat for a minute or two to drive off every last drop of moisture. Non-negotiable.
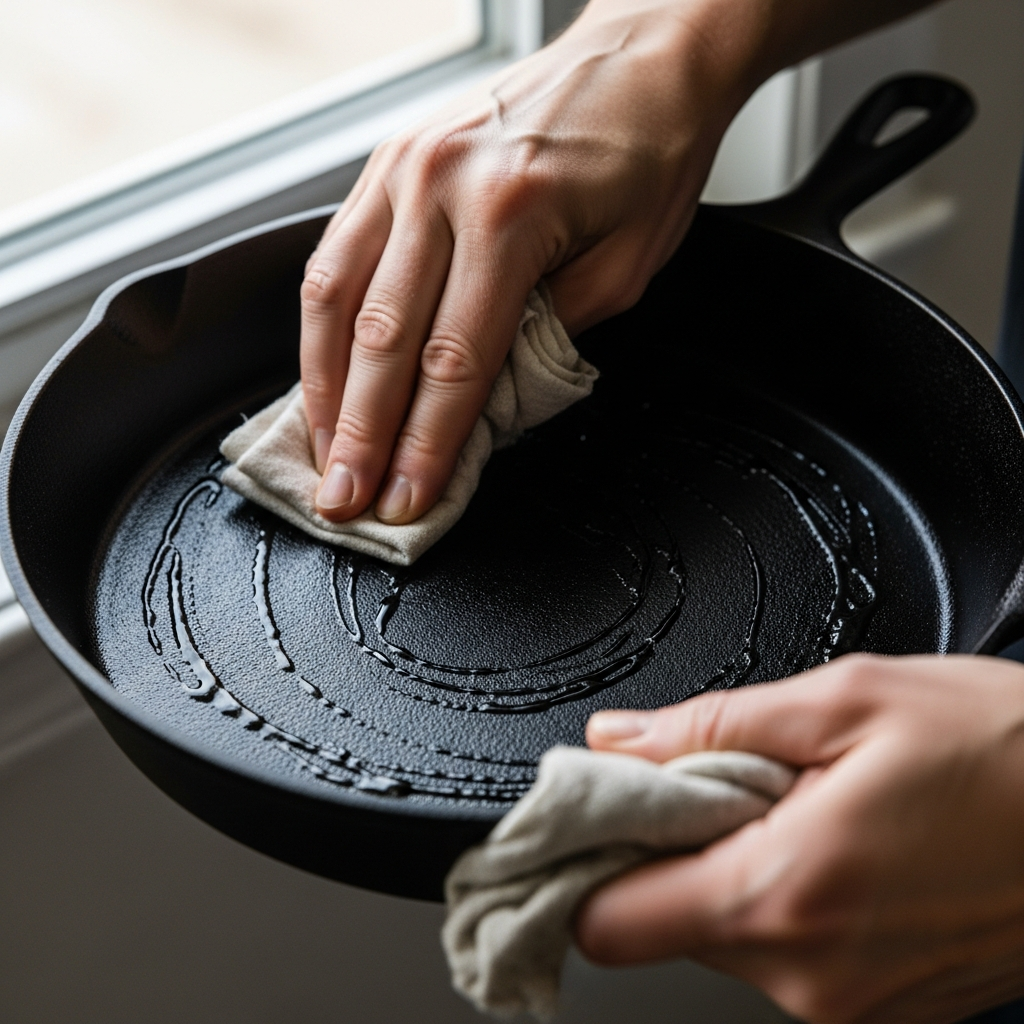
- While it’s still warm, apply a tiny amount of oil— maybe the size of a pea— and wipe it around the interior with a paper towel. Then wipe it nearly all the way back off. That’s your maintenance layer.
About Soap
But what is the actual risk of soap? In essence, it depends entirely on the soap’s chemistry. But it’s much more nuanced than old-school cast iron wisdom suggests. Modern dish soaps are detergent-based— not lye-based. The “never use soap” rule comes from an era when soap literally contained lye, which stripped seasoning aggressively. A drop of contemporary dish soap won’t damage a well-seasoned pan. It’ll clean it. What damages cast iron is soaking it in water, running it through the dishwasher, or scrubbing fresh seasoning with steel wool. Soap is fine. Soaking is not.
What to Do About Rust
Rust happens— apparently more than people admit, especially in humid climates. If you see orange spots, scrub them off with steel wool or a rust eraser (small blocks made specifically for this, about $8), wash the pan, dry it completely, and run it through two or three oven seasoning sessions. The pan is not ruined. It just needs to be rebuilt.
The skillet I use now has been through two full rust-and-rebuild cycles. It currently has the best non-stick surface of any pan I own— including an $80 non-stick skillet that’s been mostly retired to a cabinet. Cast iron is genuinely forgiving if you give it time and don’t panic when things go wrong.
Start with the oven method. Cook bacon for the first week. Be patient with eggs. The pan will get there. So will you.


Stay in the loop
Get the latest home cuisine delights updates delivered to your inbox.