Why Your Bread Dough Is Not Rising Properly
Home bread baking has gotten complicated with all the conflicting advice flying around. As someone who killed more batches of dough than I care to admit during my first year baking, I learned everything there is to know about diagnosing a flat, stubborn loaf. Today, I will share it all with you.
Here’s the thing — your dough isn’t rising for one specific reason. Sometimes two. Most guides online dump five or six possible causes on you without helping you figure out which one actually wrecked your loaf. That ends now. I’m walking you through the most likely culprits, in order, with a simple test for each.
Your Yeast Is Dead or Expired
But what is “dead yeast,” exactly? In essence, it’s yeast that’s lost enough biological activity to leaven anything. But it’s much more than that — it’s also the number one reason bread dough refuses to move, and it’s sneaky because you can’t tell just by looking at it.
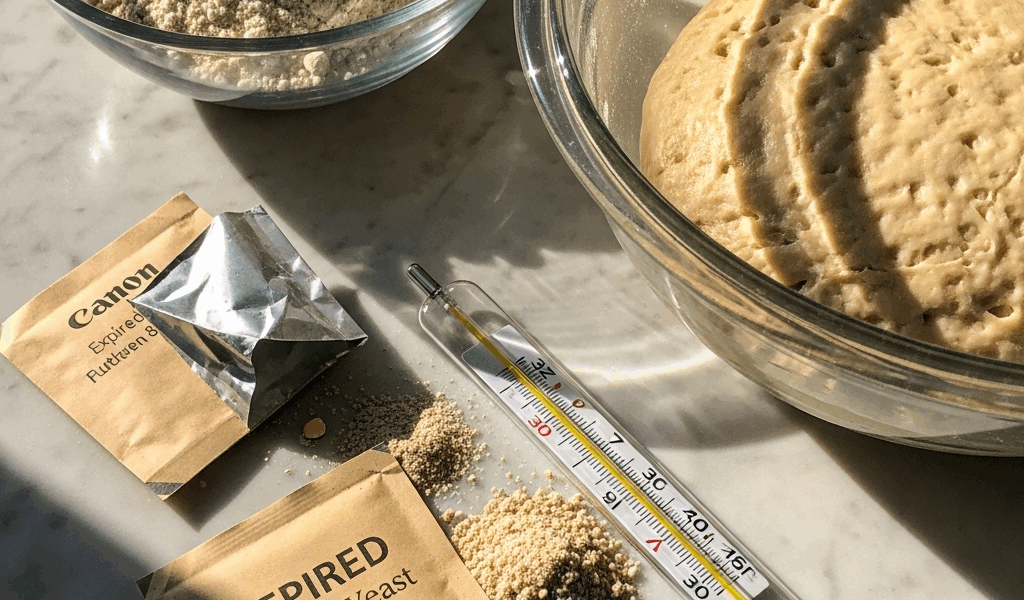
I discovered this the hard way after storing a bulk pack of Red Star behind my radiator for three months. Nothing bubbled. Nothing rose. I blamed my technique for weeks before finally testing the yeast itself.
Potency drops over time — a packet from six months ago is genuinely weaker than one bought last Tuesday. Heat accelerates the decline. Yeast stored above your stove, in a warm cupboard, or near any heat source deteriorates faster than yeast kept cool. If your open jar has been sitting in a drawer for over a year, just assume it’s gone.
The fix is the proofing test. Ten minutes. Removes all doubt.
- Pour 1/4 cup of warm water — around 105°F — into a small bowl.
- Add 1 teaspoon of sugar and 1 teaspoon of yeast.
- Stir gently and wait ten minutes.
- Look for foam or bubbles rising to the surface.
Alive yeast creates visible foam and smells vaguely sweet. Dead yeast sits flat. There’s genuinely no in-between here.
Failed the test? Toss it. Fleischmann’s and Red Star are both reliable brands — about $4 to $6 for a three-envelope pack at most grocery stores. Store the new stuff in your refrigerator or freezer. Don’t make my mistake.
Your Water Temperature Is Off
Yeast has a narrow comfort zone — roughly 100 to 110 degrees Fahrenheit. Below 90°F it goes dormant. Above 120°F it dies on contact. That’s a pretty unforgiving window when you’re eyeballing it.
Too-hot water is silent death. You mix everything, you wait, nothing happens. I learned this one winter morning after microwaving tap water for 90 seconds straight and then watching my dough sit completely flat for two full hours. Frustrating doesn’t cover it.
Too-cold water is less dramatic — your yeast still works, just grudgingly. A two-hour rise stretches into four or five. That’s what makes temperature so easy to overlook. The dough eventually rises, so you never realize you had a problem.
If you own a kitchen thermometer, aim for 105°F. I’m apparently a thermometer person, and my OXO instant-read works for me while guessing never does. If you don’t have one, use your wrist. The water should feel comfortably warm — like a bath you’d actually want to sit in — not hot. Can’t hold your wrist in it? Too hot.
Cold tap water in winter is a quiet, common problem. Faucet water can easily run at 50°F or colder. Warm it briefly on the stove or in the microwave, then check with your wrist before using it.
Your Kitchen Is Too Cold for Proofing
Yeast activity slows dramatically below 70°F. A kitchen hovering around 65°F in February will produce dough that barely moves — even when everything else is technically right. That’s what makes cold kitchens so maddening. The yeast is alive. The temperature is safe. Things are just moving at an absolute crawl.
The solution is a warm proofing environment. While you won’t need a $150 commercial proofing box, you will need a handful of simple workarounds.
Oven with the light on
Turn your oven light on and leave the door closed. The bulb generates enough steady warmth to hold the interior at roughly 75 to 80°F. Place your covered bowl inside for the entire rise. Free, easy, reliable.
Microwave with hot water
Set a microwave-safe mug of hot water inside your microwave. Place your covered dough bowl next to it. Close the door — don’t turn it on. The trapped heat keeps things warm. Refresh the mug every hour if you’re doing a long proof.
Top of the refrigerator
Your fridge vents heat upward constantly. The top surface is consistently warmer than the rest of your kitchen. It’s a free, overlooked proofing spot — just keep your bowl covered so dust doesn’t settle on it.
Properly rising dough should visibly increase in volume within the first hour. Barely different after sixty minutes? You’re too cold. Move it somewhere warmer immediately.
You Used Too Much Flour or Salt
Excess flour creates dense, compact dough. Yeast cells can’t expand properly when the dough is stiff and tight. You might get a slight rise, but nothing close to what the recipe intends.
Probably should have opened with this section, honestly. This one trips up so many home bakers — myself included — because the measuring looks right even when it isn’t.
Here’s the problem. Spooning flour into a measuring cup and leveling it gives you roughly 130 grams per cup. Scooping directly and packing it can push that to 150 grams or higher. If you’ve been scooping, you’ve been adding 20 to 30 percent extra flour without ever realizing it. First, you should buy a basic digital kitchen scale — at least if you bake bread more than occasionally. Something like an OXO Good Grips model runs $12 to $20 and eliminates this problem permanently. Measure by weight. Not volume.
Salt is a separate issue entirely. Salt added directly onto yeast — before everything gets mixed together — can damage or outright kill yeast cells. It draws water out through osmosis. Always mix flour and yeast together first, then add salt along with the remaining water.
Properly hydrated dough should feel slightly tacky. Your finger sticks just a little when you press it. Not wet, not unmanageable — just a bit grippy. Over-floured dough feels dry and stiff and resists stretching. If that sounds familiar, that was your problem.
How to Tell When Your Dough Has Risen Enough
The poke test is the simplest pass-fail check available. When you think your dough is ready, press one finger in gently about half an inch.
Indent springs back immediately? Needs more time. Gluten is still tight.
Indent springs back slowly? That’s the sweet spot. Shape it and bake.
Indent doesn’t spring back at all? Over-proofed. Still totally bakeable — don’t panic — but the crumb will be denser and the oven spring minimal. Now you know your proofing window was too long or your environment was too warm. Adjust next time.
Bread dough is genuinely forgiving. Dead yeast? Get fresh yeast. Cold kitchen? Warm it up. Too much flour? Weigh it next bake. One diagnostic pass through these sections and you’ll know exactly what happened — and exactly what to fix.


Stay in the loop
Get the latest home cuisine delights updates delivered to your inbox.